Changing Page Margins in your CMA
Set custom page margins (and optional bleed) for your CMA pages in the CMA Editor.
How to change page margins
Open your CMA in the CMA Centre.
Click Pages in the left-hand menu.
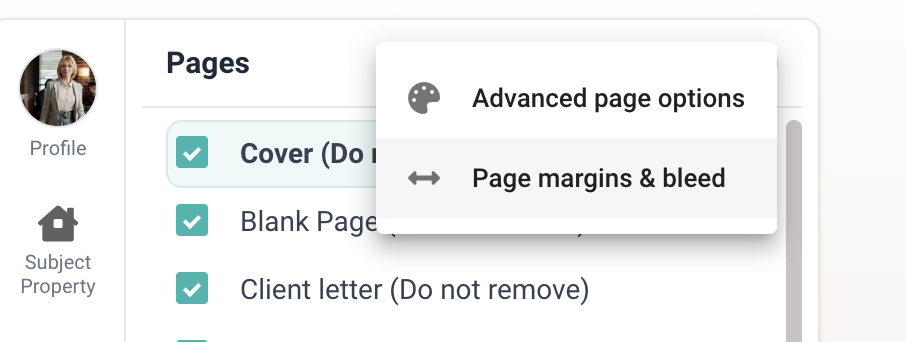
Click the three dots at the top right of the Pages menu.
Choose Page margins & bleed.
In the Page Margins & Bleed window, turn on Enable margins.
Enter your Top, Bottom, Left and Right margin values.
Click Save CMA to keep your changes.
Options in the window
Units: choose Millimetres (mm) or Pixels (px).
Mirror margins (booklet binding): mirrors the margins across left and right pages.
Ignore template padding: some legacy templates set horizontal padding in the template. When enabled, only Page Margins & Bleed apply (recommended when using custom margins).
Enable bleed: turns on bleed settings for the page.
The preview in the window shows the bleed (trimmed) area and the margin (safe area).