Customise your CMA Template
Use the CMA Design Studio to easily create, edit, and customise your own CMA to give you full brand control.
Getting started with the CMA Setup Panel in CMA Design Studio
The CMA setup panel in the CMA Design Studio, gives you control over your report. Here's what you can do in each section:
My Details allows you to update your professional information and profile image:
- Agent name and contact details (email, phone, website) - these changes can only be made through My Details
- Profile photo options: upload new, or remove
Owner Details allows you to edit client information:
- Owner's name
- Add an email address for the owner
Templates is where your CMA template options are located.
- Select from Relab's Default CMA Template or your bespoke branded template (available as an add-on with the Relab Agent Team plan).
Pages are the content of your template. Reorder these, or toggle them on or off by clicking the blue checkbox.
Edit pages to manage your report structure:
- Reorder pages by dragging the ( ≡ ) icon next to each page name
- Show or hide pages based on what's relevant for each client using the blue checkbox
- Control the flow of your presentation from cover to end
Controlling Number of Properties Per Page
Comparable Sales, Comparable Listings
- Control the number of results displayed per page - On the left navigation bar of your CMA Report, locate the Comparable Sales or Comparable Listings section and look for the Results per page setting. Select your desired number to limit how many properties appear per page.
- Important Note: If your property comments are lengthy, the system may automatically move properties to additional pages to prevent text from being cut off. This ensures all information remains readable
- Easily rearrange the order by dragging the ≡ icon next to each result
- Remove items - hover over the result in your report and select Remove
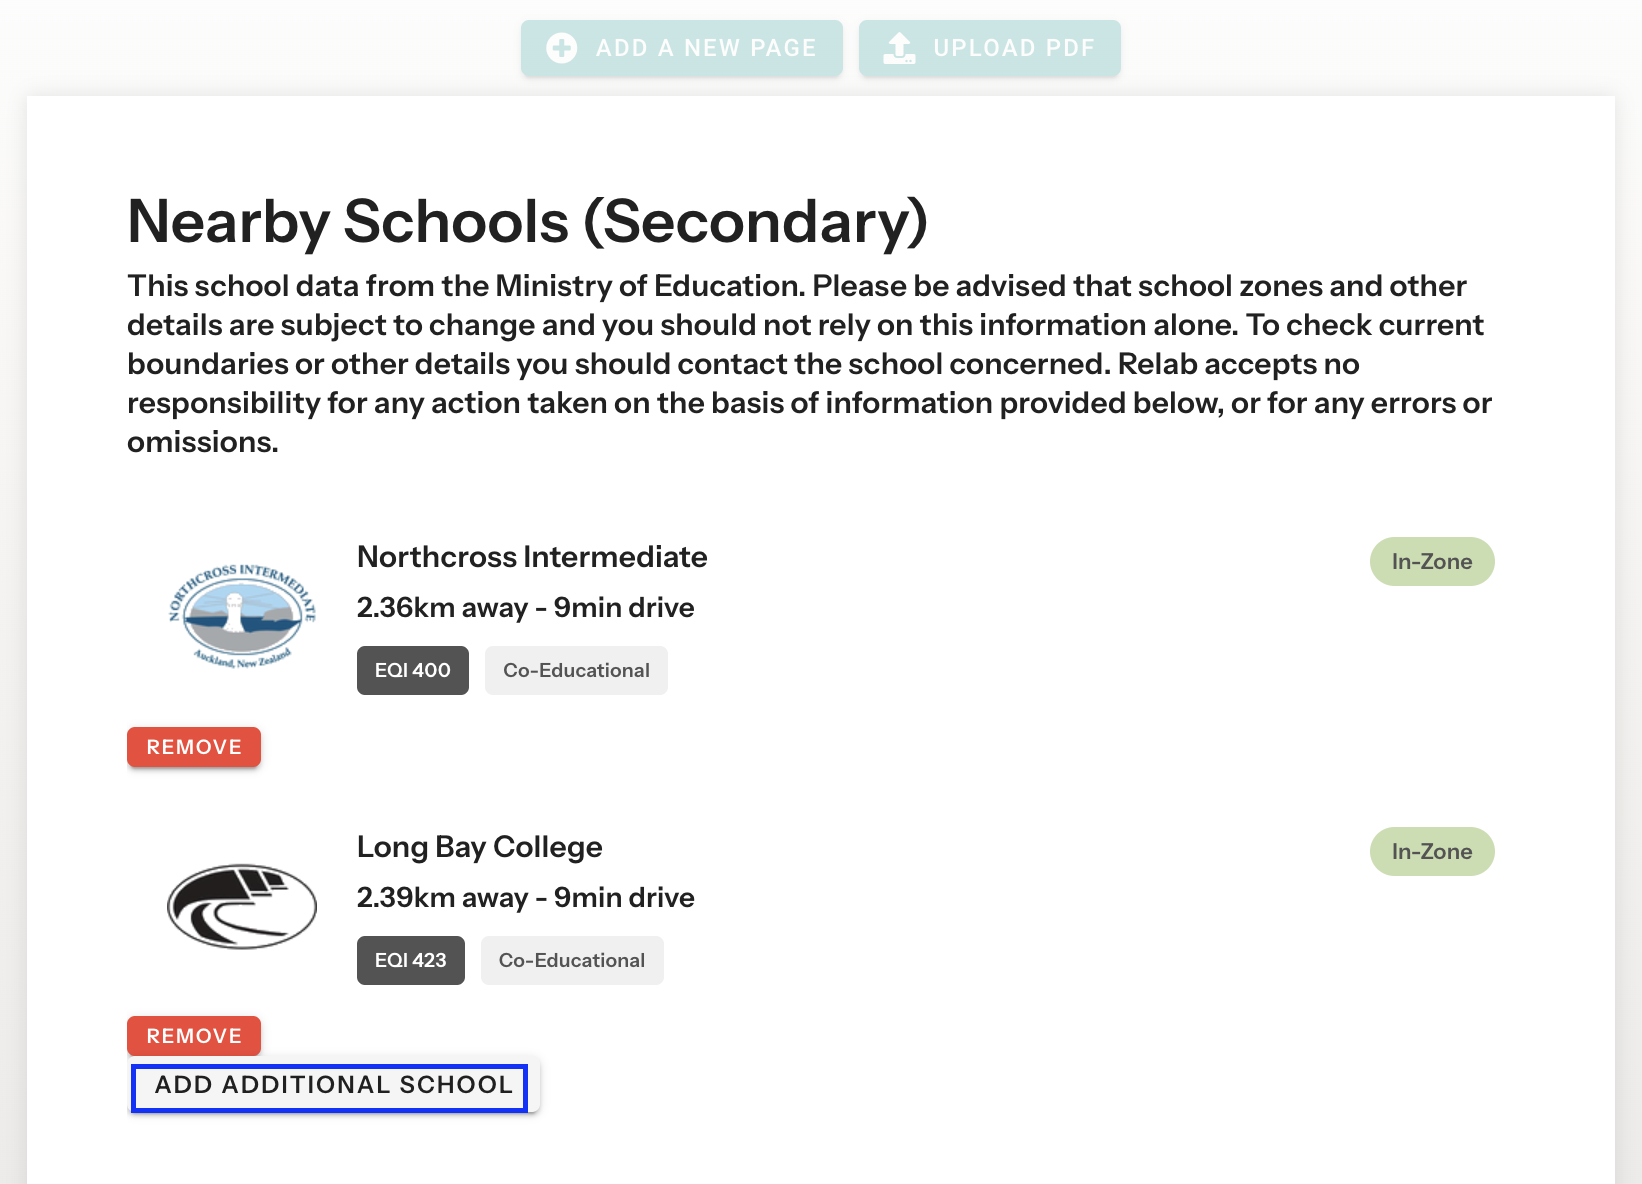
Adding Missing Schools if a school isn't showing in your CMA:
- Make sure that the Primary and Secondary Schools pages are ticked.
- Under each page click the Add Additional School button to search for a school by name.
- Select the school from the search results to add it to your report

Working with Images
Click on any editable property photo to access image options.
Image Sources
- Subject Property: Images tied to the subject property’s address.
- Nearby Sales: Images from selected comparable sales, organised by address.
- Nearby Listings: Images from selected nearby listings, organised by address.
- Upload: Add your own image if the listing images are unavailable.
Image Options by Page Type
- Front Cover: Any image source available
- Property Details: Subject property images only (or upload custom)
- Most Comparable Sale: Any image source available
- Nearby Sales/Listings: Images from their specific addresses only (or upload custom)
Upload a PDF
Look for the upload PDF icon to add your own marketing material to your CMA template.
Advanced Editing Studio
Look for the pen/edit icon (✏️) at the top of any editable page in Relab CMA to enter the Advanced Editing Studio.
What You Can Do in Advanced Editing
- Change font, colours and styling to match your brand
- Add custom image sections and text blocks
- Add new pages
- Clone existing pages
- Modify all design elements
- Create unique layouts
- Adjust spacing and alignment
Pages with Limited Editing
Some data pages in Relab's CMA use live data and have restricted editing to ensure accuracy:
- Property Details
- Comparable Sales and Listings
- Property Map
- Residential Insights
- Title Page
- School Zones
